

Key Takeaways
- Inspect the car in daylight on a flat, dry surface for the most accurate read.
- Panel gaps, paint texture mismatches, and rust patterns are early signs of prior damage.
- Check all fluid levels, belts, and tires before ever starting the engine.
- A test drive should include highway speeds, hard braking, and sharp turns.
- A vehicle history report is useful but cannot replace a hands-on inspection.
What you will need
Why In-Person Inspection Still Matters
Photos, listings, and even vehicle history reports give you a partial picture. They can tell you a car was in an accident - but not how well the repair was done. They can list the mileage - but not whether the interior shows signs of far harder use. The only way to close those gaps is to put your hands and eyes on the car directly.
This guide walks through that process in a logical order: documentation first, then exterior, engine bay, interior, tires, cold start, and test drive. Each stage builds on the last, and skipping any one of them is how buyers end up with expensive surprises. For a broader view of the full purchase journey, see the car buying process, start to finish.
What you will need
Flashlight or phone torch
Illuminate the engine bay, wheel wells, and undercarriage where shadows hide corrosion and leaks.
Tire tread depth gauge
Measure remaining tread to estimate how soon replacement will be needed.
Vehicle history report
Cross-reference the car's VIN against recorded accidents, title changes, and odometer readings.
Magnet (small, wrapped in cloth)
Detect body filler under paint - a soft attachment signal indicates repaired collision damage.
Walk-Through, Start-Up, and Test Drive
Work through each step below in order. The sequence is deliberate - later steps (like the test drive) are more meaningful once you've already filtered for obvious structural, mechanical, or cosmetic problems.
Schedule Viewings in the Morning
Viewing a car first thing in the morning - before it has been driven - gives you cleaner cold-start data. A cold engine that struggles to start, idles roughly, or produces blue smoke on startup is showing symptoms that can disappear once the engine warms up. Sellers who insist the car is 'already warmed up' for you may not have your interests in mind.
Pull the Vehicle History Report First
Before you drive to see the car, run the VIN through a vehicle history service. Look for any reported accidents, title issues (salvage, flood, or rebuilt titles), odometer discrepancies, and the number of previous owners. This shapes what you look for when you arrive in person. Our article on what a vehicle history report actually tells you explains which entries carry the most weight.
Do a Full Walk-Around in Daylight
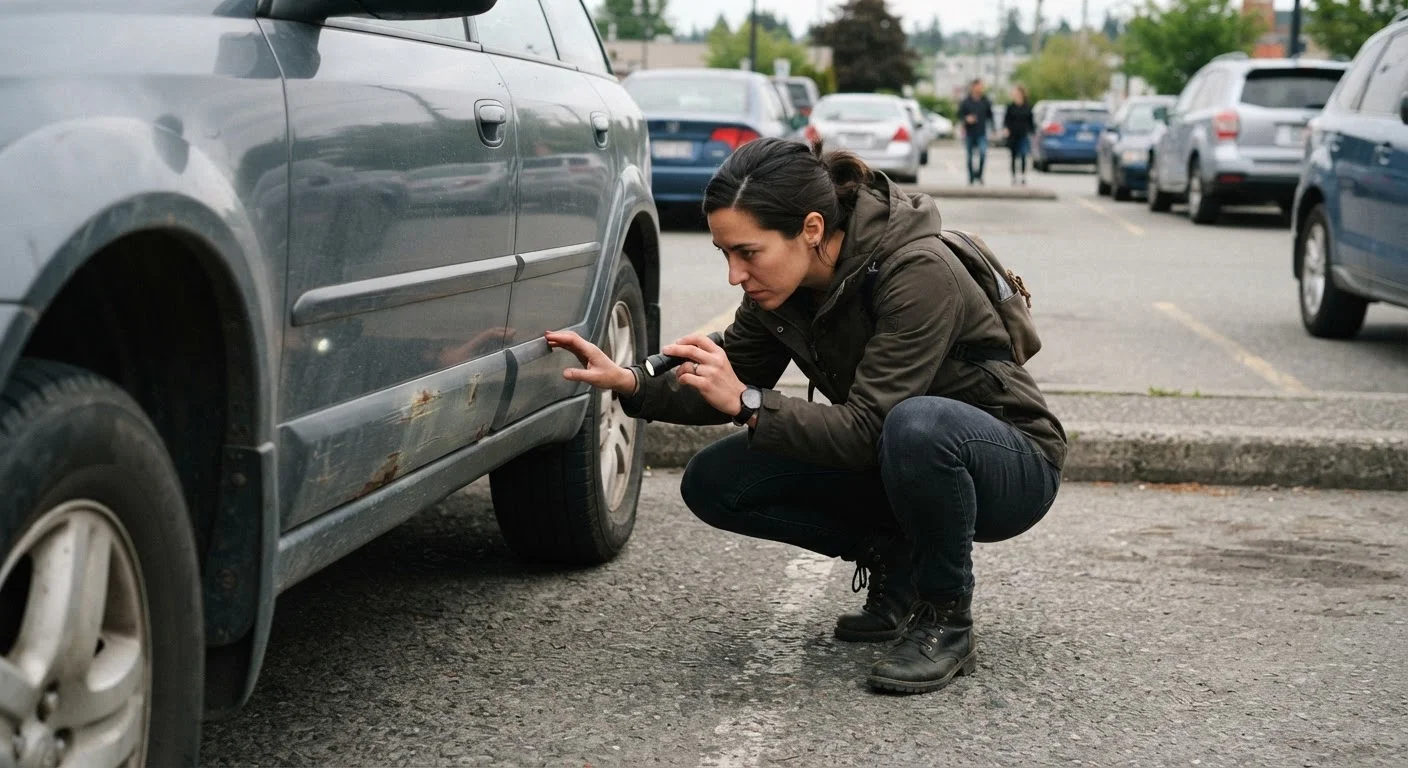
Stand back and look at the car from each corner. The roofline, hood, trunk lid, and fenders should all sit in smooth alignment. Then work your way around the panels systematically:
- Panel gaps: Gaps between doors, fenders, and the hood should be even and consistent. Uneven gaps suggest the body has been pushed or pulled in a collision and reassembled.
- Paint texture: Run your eye along the panels at a low angle. Orange-peel texture or slight color-tone differences between panels indicate a repaint - a common sign of repaired damage.
- Rust: Check the lower door sills, wheel arches, floor pan edges, and underside. Surface rust on rotors is normal, but rust eating into structural metal is a serious concern.
Inspect the Engine Bay
With the engine cold, open the hood and work through the following:
- Oil: Pull the dipstick, wipe it clean, reinsert, and pull again. The oil should sit between the min and max marks. Milky or frothy oil can indicate a head gasket leak - coolant mixing with oil.
- Coolant reservoir: The coolant level should sit at the marked line. Brown or rusty coolant suggests neglected maintenance.
- Belts and hoses: Look for cracking, fraying, or glazed surfaces on visible belts. Squeeze hoses - they should feel firm, not spongy or brittle.
- Leaks: Shine your flashlight along the underside of the engine and onto the ground beneath. Fresh oil or coolant staining is a red flag.
Check the Interior Thoroughly
The interior tells you how a car was actually lived in. Inspect the following:
- Seat wear: Compare the wear on the driver's seat against the odometer. A seat that looks far more worn than the mileage suggests could indicate a rolled-back odometer.
- Carpet and floor mats: Lift the mats and press the carpet. Dampness or a musty smell underneath is a strong indicator of a water leak or flood history.
- All controls: Test every button, switch, and screen - windows, mirrors, HVAC, audio, parking sensors, and infotainment. Repairs to electronics can be costly.
- Warning lights: Turn the ignition to the accessory position (without starting) to confirm all dashboard warning lights illuminate briefly, then clear. A missing check engine light could mean the bulb has been removed to hide a fault.
Inspect the Tires
Tires are both a safety indicator and a maintenance window. Check all four - plus the spare if present:
- Tread depth: US law requires a minimum of 2/32 inch of tread, but 4/32 inch or more is recommended for safe wet-weather stopping. Use a tread depth gauge or the quarter test. Our guide to checking tread depth covers both methods.
- Even wear: Uneven wear across the tread width suggests alignment or suspension problems, not just tire age.
- Matching tires: Four matching tires from the same brand and model suggest a seller who maintained the vehicle consistently.
Start the Engine and Listen
Start the engine cold and listen before moving the car. A healthy engine should idle smoothly within a few seconds. Watch for:
- Smoke: Blue smoke on startup indicates oil burning. White smoke can mean coolant in the combustion chamber. Black smoke points to a fuel-rich running condition.
- Noises: Ticking, knocking, or rattling on cold start are worth noting. Some light ticking that fades as oil pressure builds is common - persistent knocking is not.
- Warning lights: Any warning light that stays on after the engine has warmed is worth investigating before going further.
Take a Structured Test Drive
A proper test drive covers more than a short loop around the block. Plan a route that includes:
- Highway acceleration: Does the car pull smoothly and hold speed without hesitation or shuddering?
- Hard braking: At a safe, legal speed on an empty road, apply firm braking. The car should stop straight without pulling or pulsing through the pedal (which can indicate warped rotors).
- Tight turns: Listen for clicking from the front wheels during sharp turns - a sign of worn CV joints.
- Steering feel: On a straight, clear road, briefly release the wheel. Pulling to one side suggests alignment issues.
After the drive, review what the pre-purchase checklist covers before making any commitment.
Have a Mechanic Inspect Before You Buy
A personal walk-around is a useful first filter, but it has real limits. Before committing to any used car purchase, arrange a pre-purchase inspection by a qualified, independent mechanic. This is especially important for older vehicles, high-mileage cars, or any car that has given you a nagging doubt. See our guide on getting a pre-purchase inspection done right for what that process involves.
This article provides general educational information for used car buyers. It is not a substitute for a professional mechanical inspection. Always consult a qualified mechanic before making a purchase decision.