

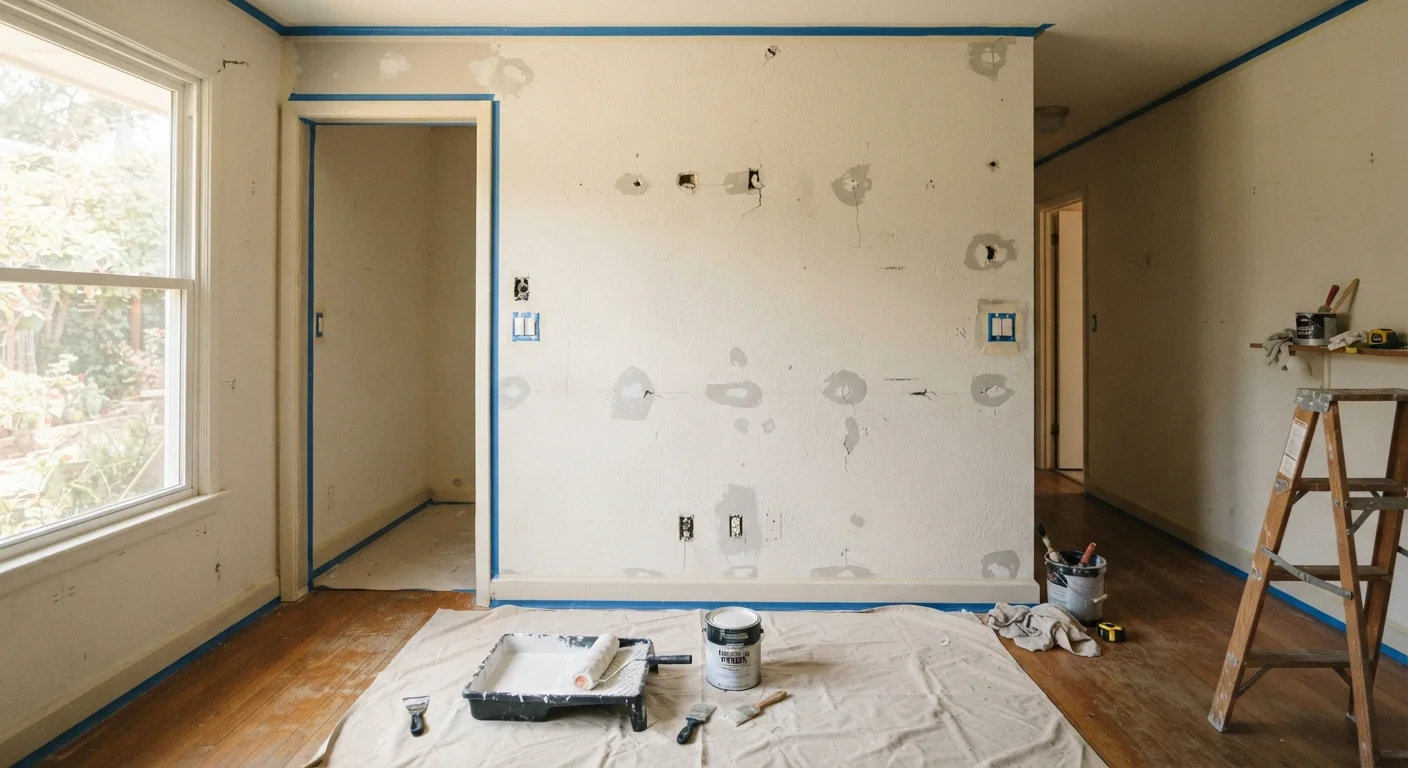
Key Takeaways
- Skipping surface cleaning and repair is the single most common reason interior paint fails prematurely.
- Primer is not optional - it seals repairs, evens porosity, and gives topcoats something to grip.
- The type of primer matters: oil-based, shellac, and latex primers serve different purposes.
- Rushing dry time between prep steps leads to bubbling, peeling, and adhesion failure.
- Even experienced painters underestimate how much time proper wall prep actually takes.
Why Prep Determines Everything
Most people approach repainting as a color decision - pick a shade, grab a roller, and go. The result often looks fine for a few months, then starts to show bubbling edges, hairline cracks, or uneven sheen. The culprit is almost never the paint. It's what happened - or didn't happen - before the first coat went on.
Wall surfaces accumulate grease, dust, soap film, and oxidized paint over time. None of those are good bases for new paint. A roller spreads color over contamination without bonding to the wall beneath, and that bond is what determines longevity. The same logic applies to repairs: a fresh coat of paint will not hide a poorly patched nail hole; it will highlight it.
If you're sequencing a larger renovation, painting always follows structural, plumbing, and electrical work - and for good reason. See our guide to renovation sequencing for how professionals order tasks to avoid expensive rework.
Best Practices for Surface Preparation
Getting prep right isn't complicated, but it does require discipline and adequate time. The following practices address the most common failure points.
Clean all wall surfaces before doing anything else.
Grease, dust, and soap residue prevent paint from bonding to the surface. Applying paint over contamination produces adhesion failure, often visible within months. Cleaning is especially critical in kitchens, bathrooms, and around switch plates.
Fill and sand every hole, crack, and imperfection - no exceptions.
Paint does not fill defects; it follows them. A glossy finish actually makes small flaws more visible, not less. Addressing every nick and crack before priming ensures the final surface looks intentional and smooth.
Allow repairs to cure completely before priming.
Patching compounds shrink slightly as moisture evaporates. Priming over wet or partially cured compound traps moisture, which can cause the repair to crack or the primer to bubble. Rushing this step undoes the repair work entirely.
Sand between coats, including between primer and finish.
Even primer applied well can leave light texture, dust nibs, or brush marks. A light pass with fine-grit sandpaper (220-grit) after primer creates a smoother base that the topcoat adheres to more evenly.
Mask trim, outlets, and ceilings carefully - and remove masking promptly.
Sloppy edges are the most visible sign of amateur work, but overzealous or poorly timed tape removal causes its own damage. Leaving tape too long allows paint to cure over it, tearing the surface when removed.
Priming: The Step That Holds It All Together
Even after perfect prep, applying finish paint directly to bare drywall, patched spots, or previously painted surfaces without primer creates problems. Primer is a separate, purpose-built product - not thinned paint. It penetrates the substrate, seals porous areas, and creates a uniform surface with consistent sheen and absorption.
Match Your Primer to the Problem
Not all primers are interchangeable. For new drywall, use a drywall-specific PVA primer. For surfaces with stains, tannin bleed, or smoke damage, shellac-based primer is the most reliable block. For previously glossy surfaces, consider a bonding primer rather than sanding aggressively. Reading the primer label for intended substrates takes two minutes and can prevent a full repaint.
Choosing the wrong primer is nearly as problematic as skipping it. Latex drywall primer works on standard surfaces, but oil-based or shellac primers are appropriate for water-stained areas, heavy smoke damage, or surfaces where bleed-through is a risk. If you're covering a dramatic color change - say, dark red to off-white - a high-hiding primer can reduce the number of finish coats needed.
One patch, one coat of primer, one topcoat is not a complete job. Each repaired area should receive its own spot prime, allowed to fully cure, before the full wall prime coat. Skipping spot priming is why repaired areas often look slightly different from surrounding surfaces under certain light.
Dry Time Is Not Negotiable
Temperature and humidity directly affect how long primer and paint take to cure - not just dry to the touch. A room that feels dry at 65% humidity may have primer that hasn't fully cured. Most manufacturers specify ideal conditions (typically 50-70°F and under 50% relative humidity). Working outside those ranges, or in an unventilated space, extends cure time in ways that the label estimate doesn't capture.
Quick Wins You Can Start Today
If you're prepping to repaint in the near future, a few targeted actions now will pay off on paint day.