

Key Takeaways
- Structural and demolition work must always precede any mechanical, electrical, or plumbing rough-in.
- Finishing trades like painting and flooring are always the last to go in - not the first.
- Skipping permits or inspections at required stages forces costly rework later.
- Coordinating trade schedules in advance prevents idle time and costly delays.
- Understanding the logic behind sequencing helps homeowners catch contractor errors early.
Why Sequence Matters More Than Speed
The single most common source of expensive rework in home renovation isn't bad materials or inexperienced contractors - it's doing work in the wrong order. When a finish trade goes in before the rough-in work is complete, something always has to come back out. Drywall gets cut. Tile gets pulled. Freshly painted ceilings get splattered. Every one of those reversals costs money that wasn't in the budget.
Professional general contractors think in layers: structural first, then mechanical systems, then enclosure, then finishes. Each layer must be inspected and approved before the next one covers it. That logic isn't arbitrary - it reflects the physical reality of how buildings are assembled and how mistakes get caught before they become permanent. If you're managing your own renovation or overseeing trades without a GC, understanding this sequence is the most important thing you can learn. For a closer look at where renovation budgets tend to break down, see our guide to hidden renovation costs.
The Professional Sequence, Step by Step
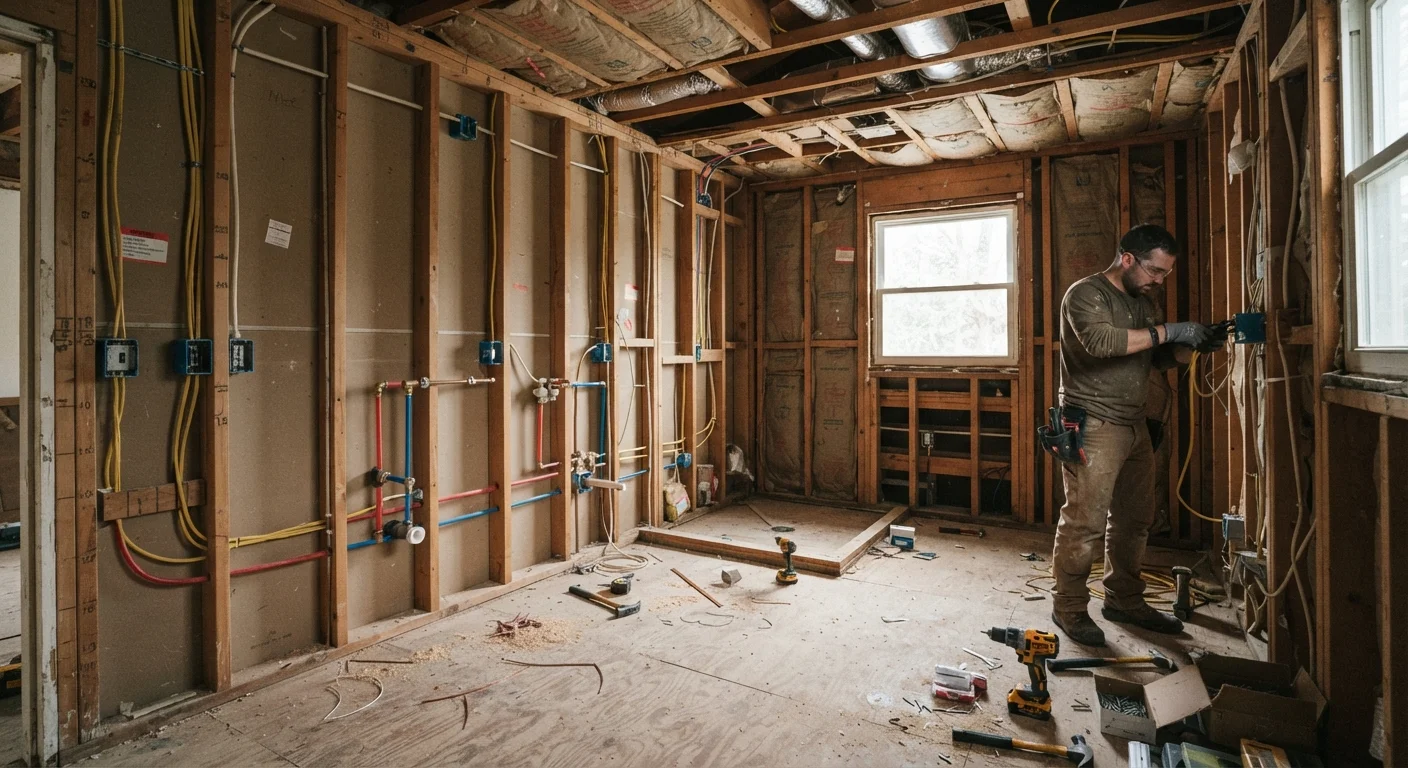
While every project has unique variables, the following order applies to the vast majority of interior renovation work in US residential construction:
Complete all demolition and structural work before any trade rough-ins begin.
Demolition can reveal hidden conditions - rot, mold, undersized beams, outdated wiring - that change the scope of every trade that follows. Discovering these after mechanical rough-in means rerouting pipes and wires at significant additional cost.
Sequence mechanical rough-ins in this order: HVAC ductwork, then plumbing, then electrical.
Ductwork takes up the most space and is the least flexible to reroute. Plumbing drain lines require gravity-driven slope and must thread around ducts. Electrical wiring is the most flexible and fills in last around both.
Schedule rough-in inspections before closing walls or ceilings with drywall.
Most jurisdictions require a rough-in inspection of electrical, plumbing, and structural framing before enclosure. Failing to obtain this sign-off can require reopening finished walls - a significant and avoidable cost.
Install insulation and vapor barriers after rough-in approval, before drywall.
Insulation must be in place before drywall to meet energy code and prevent moisture issues. Installing it after drywall is physically impossible without tearing out walls.
Paint walls and ceilings before installing finish flooring.
Paint drips, roller splatter, and edge-cutting are inevitable. Doing this work over subfloor - or at minimum over protective covering - protects hardwood, tile, and luxury vinyl from damage that can't be undone.
Install finish flooring before setting toilets, vanities, and kitchen appliances.
Flooring should run under or to the base of fixed fixtures, not around them. Tiling or laying hardwood around an already-set toilet creates gaps, uneven edges, and complications if the fixture ever needs replacement.
One area where sequencing trips up homeowners most often is the kitchen. Because kitchens involve all trades simultaneously - plumbing, electrical, gas, cabinetry, countertops, flooring, and appliances - the interdependencies are especially tight. Our kitchen renovation planning guide walks through how these layers interact in that specific context.
Permits, Inspections, and Why You Can't Skip Them
Permits Are Your Documentation, Too
Beyond legal compliance, permits create a paper record that work was inspected and approved. This matters when you sell the home - unpermitted work that shows up in a buyer's inspection can delay or derail a sale. It can also affect your homeowner's insurance coverage if unpermitted work is involved in a claim. Check with your insurer and a licensed professional for guidance specific to your situation.
In most US jurisdictions, electrical, plumbing, and structural work requires a permit and at least one inspection at rough-in stage - before walls are closed. This isn't bureaucratic friction. It's the checkpoint that confirms hidden systems are safe before they're sealed inside your walls for decades. Skipping an inspection and closing walls anyway means that if an inspector later requires access, you're cutting drywall at your own expense.
Always confirm which permits apply to your specific project with your local building department before work starts. Requirements vary significantly by municipality, scope of work, and whether you're in a single-family home versus a condo or multi-family building.
Scheduling Trades to Avoid Idle Time
Even when homeowners understand the correct sequence, poor scheduling creates gaps that stretch a two-week project into six. Trades are booked out, materials aren't on-site, or an inspection takes longer than expected and the next subcontractor is already on another job.
Before any work begins, confirm that you've vetted each trade thoroughly. Our contractor verification checklist covers licensing, insurance, and what to put in writing before anyone starts. Getting scheduling and vetting right together is what separates a renovation that runs on time from one that doesn't.
~35%
Renovation cost overruns tied to sequencing errors
Industry estimates suggest roughly a third of residential renovation cost overruns stem from work that had to be redone due to incorrect task sequencing or missed inspections.
2-3 weeks
Typical delay from a failed rough-in inspection
When a rough-in inspection reveals a code issue after walls are already closed, the repair and re-inspection cycle commonly adds two to three weeks to a project timeline.