

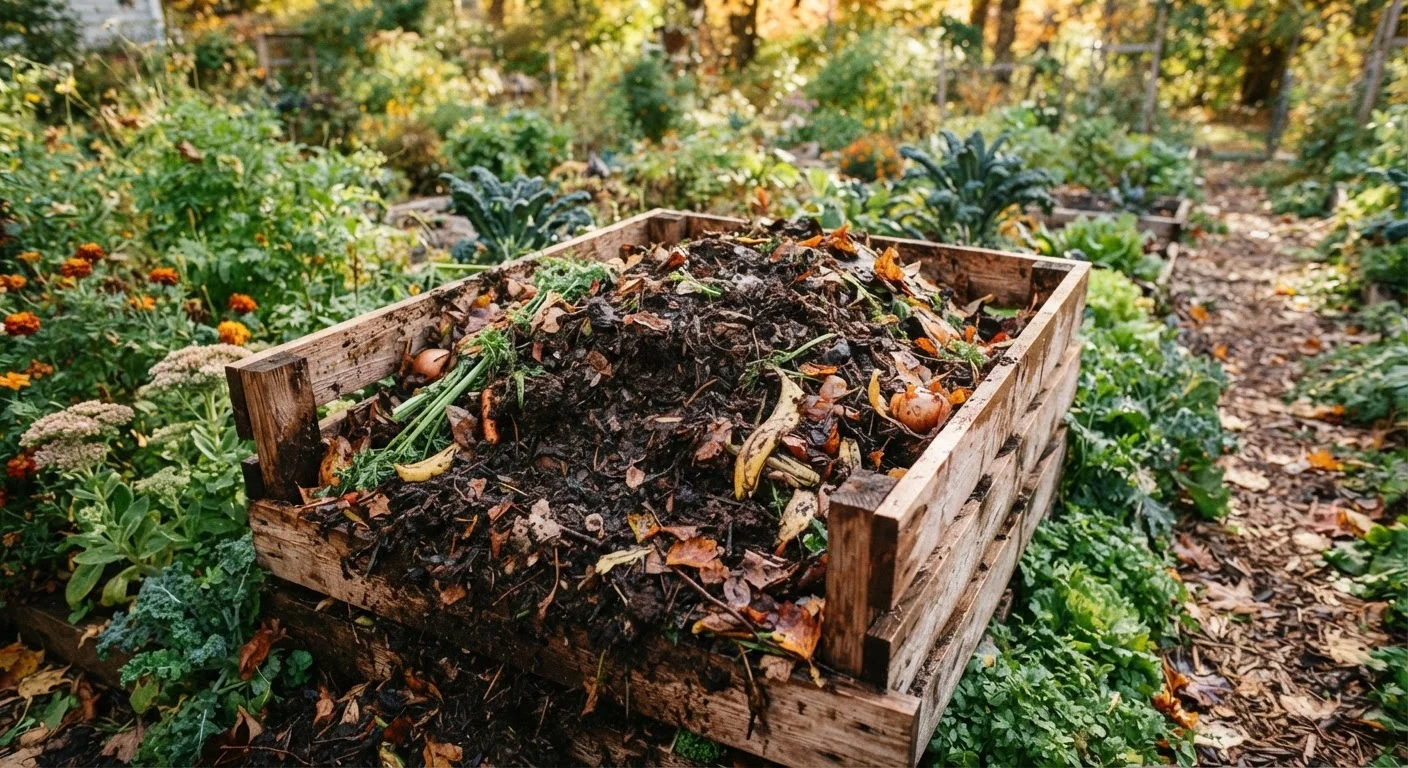
Key Takeaways
- Compost needs a balance of nitrogen-rich 'greens' and carbon-rich 'browns' to decompose properly.
- Meat, dairy, and oily foods should be kept out of open outdoor compost bins.
- Regular turning and adequate moisture significantly speed up decomposition.
- Finished compost smells earthy, looks dark and crumbly, and contains no recognizable scraps.
- Even renters with limited space can compost using worm bins or bokashi systems indoors.
Why Composting Is Worth the Effort
Composting converts organic waste - fruit peels, vegetable trimmings, coffee grounds, yard clippings - into a dark, crumbly soil amendment that improves virtually any garden. It reduces the volume of household waste sent to landfill and eliminates the need to buy bagged soil conditioners for routine garden maintenance.
Finished compost improves soil structure in both sandy and clay-heavy gardens, supports healthy microbial activity, and helps soil retain moisture more effectively. For anyone starting a garden from scratch, a steady supply of home compost is one of the most practical investments you can make in long-term soil health.
~30%
Household waste that is compostable
The U.S. EPA estimates that food scraps and yard waste together make up roughly 30% of what Americans throw away.
4-8 weeks
Time to finished compost in a tumbler
Hot, well-managed tumbler composting in warm weather can produce finished material in as little as four to eight weeks.
3-12 months
Typical open-pile decomposition time
A passively managed outdoor compost pile generally takes three to twelve months depending on materials and climate.
What to Put In - and What to Leave Out
A compost pile thrives on a mix of two broad material types:
- Greens (nitrogen-rich): Fruit and vegetable scraps, coffee grounds and paper filters, tea bags (unstapled), fresh grass clippings, and plant trimmings.
- Browns (carbon-rich): Dry leaves, cardboard (torn into pieces), paper bags, straw, and small wood chips.
A rough guideline is to aim for roughly two to three parts browns for every one part greens by volume. Too many greens and the pile turns slimy and odorous; too many browns and decomposition stalls.
Keep These Out of Your Outdoor Bin
Meat, fish, dairy, cooked foods, pet waste, and diseased plant material should never go into a standard open-air compost bin. These materials can attract rodents and other pests, produce strong odors, and may harbor pathogens that typical home composting does not reliably destroy. If you want to process cooked food scraps, consider a bokashi system instead.
Leave these out of an open outdoor bin entirely: meat and fish scraps, dairy products, cooked foods with oil or sauce, pet waste, diseased plants, and anything treated with persistent pesticides. These materials either attract pests, create unpleasant odors, or introduce pathogens that standard home composting temperatures cannot reliably neutralize.
Choosing a Composting Method
The right method depends on your available space, lifestyle, and how quickly you want results.
- Open pile or bin composting
- The most common approach for yards. A simple enclosed bin or freestanding pile works well if you generate moderate kitchen and garden waste. Decomposition typically takes three to twelve months depending on management.
- Tumbler composting
- A sealed drum that rotates for easier turning and faster breakdown - often four to eight weeks in warm weather. Tumblers also keep pests out more reliably than open bins.
- Worm composting (vermicomposting)
- Uses red wiggler worms in a contained bin to process kitchen scraps into castings (worm compost), which are exceptionally nutrient-dense. Works indoors or in a garage, making it suitable for renters or apartment dwellers. See our guide to container gardening in small spaces for ideas on putting worm castings to use in pots and planters.
- Bokashi fermentation
- An anaerobic (no-air) method using inoculated bran to ferment kitchen waste - including cooked food and small amounts of meat - in a sealed bucket. The fermented material still needs to be buried or added to a soil pile to fully break down, but it dramatically expands what you can process indoors.
Keep a small lidded container on your kitchen counter for daily scraps, emptying it into the outdoor bin every two to three days. Frequent small additions are easier to manage and integrate than occasional large dumps.
Smaller, more frequent additions mix into the pile more evenly, reducing the chance of compacted wet layers that restrict airflow and cause odors.
Stock a pile of dry leaves or torn cardboard next to your compost bin so you can add a handful of browns every time you add kitchen scraps - no measuring required.
Maintaining the carbon-to-nitrogen balance in real time prevents the most common composting problems: odor and slow decomposition.
Managing Your Pile: Moisture, Air, and Balance
Three factors govern how fast your compost breaks down: moisture, oxygen, and the carbon-to-nitrogen ratio.
Moisture: The pile should feel like a wrung-out sponge - damp throughout but not dripping. In dry spells, water the pile lightly. In heavy rain, cover an open bin to prevent waterlogging, which displaces oxygen and leads to anaerobic (smelly) conditions.
Aeration: Turning the pile with a fork or compost aerator tool introduces oxygen that microbes need to do their work. Turning once a week in warm weather can dramatically shorten decomposition time. Even turning once a month produces noticeably better results than leaving a pile undisturbed.
Particle size: Smaller pieces decompose faster. Chopping or shredding kitchen scraps and breaking down cardboard into small pieces gives microbes more surface area to work with.
Layer Like a Lasagna
When building or refreshing a pile, alternate layers of greens and browns rather than dumping everything in at once. Think of it like lasagna - alternating layers create a structure that promotes airflow and even moisture distribution throughout the pile, giving microbes the conditions they need to work efficiently.
Troubleshooting Common Problems
Most composting problems have a straightforward fix once you identify the cause:
| Symptom | Likely Cause | Fix |
|---|---|---|
| Bad smell (ammonia) | Too many greens | Add browns; turn pile |
| Bad smell (rotten egg) | Too wet, no oxygen | Turn pile; add dry browns |
| Pile not heating up | Too dry, too many browns, or too small | Add water, add greens, build pile larger |
| Pests attracted to bin | Food scraps exposed on surface | Bury scraps in center; use covered bin |
| Pile shrinks but won't finish | Cold weather slowing microbes | Insulate bin or wait for warmer weather |
Knowing When Your Compost Is Ready
Finished compost has a consistent dark brown or black color, a crumbly texture similar to moist soil, and an earthy smell - not unpleasant. You should not be able to identify any of the original materials; if recognizable scraps remain, the compost needs more time.
Temperature is a useful indicator during active composting: a healthy hot pile may reach 130-160°F (54-71°C) in its center during peak decomposition, then cool as activity slows. When the pile no longer reheats after turning, decomposition is largely complete.
If you're preparing your garden beds in autumn, finishing compost before the season ends gives you a head start. Our autumn garden shutdown guide covers how to incorporate organic matter into beds before winter.
Partially Finished Compost Has Uses Too
Material that isn't fully broken down - sometimes called 'rough' or 'immature' compost - can still be dug into garden beds in autumn. Over winter, soil organisms continue breaking it down in place. Avoid using immature compost as a surface mulch around growing plants, as it can temporarily tie up soil nitrogen during further decomposition.
Putting Finished Compost to Work
Finished compost is versatile. Common uses include:
- Soil amendment: Work two to three inches into the top six to eight inches of garden bed soil before planting to improve structure and organic content.
- Mulch: Apply a one- to two-inch layer around plants to retain moisture and suppress weeds. Keep it a few inches away from plant stems to avoid rot.
- Potting mix component: Blend with other materials to enrich potting soil for containers and raised beds.
- Lawn top-dressing: A thin layer raked across lawn areas can improve thin or compacted turf over time.
Compost is not a substitute for all fertilizers in every situation - it releases nutrients slowly and may not supply everything a specific crop needs in concentrated amounts. For a broader look at soil feeding strategies, see our comparison of organic vs. synthetic fertilisers.
U.S. EPA Composting at Home
The EPA's overview of home composting basics, including what to compost and how to get started. A reliable reference point for foundational guidance.
USDA Natural Resources Conservation Service - Soil Health
Background on how organic matter affects soil biology and structure - useful context for understanding why compost improves garden performance.
Cornell Composting Science & Engineering
Cornell University's composting resource covers the science of decomposition in accessible language, including temperature management and carbon-to-nitrogen ratios.